
This is part is more technical, but to produce music yourselves, you need to use a certain amount of technical expertise. We had some between us but it also proved to be quite a learning curve in certain areas!
The EP was recorded on a Mac using Logic Pro and this gives a wealth of tools to use (most of which we probably still don’t know how to use!) but we found it great to work with and edit the tracks as needed.
Mixing
Once all the instruments and vocals have been recorded, we then turn to mixing and Andy and Damian spent quite a few evenings working on this. First, we went through each track to tidy up any unwanted noises or pops that may have crept in during recording – we found a few bumps from live acoustic guitars and vocals especially that needed just a little tweaking to remove. Then we spent some time working on compression and EQ for the various parts. We experimented with a few variations and, while we were able to keep this quite consistent across all the tracks, each one required slight tweaks to give all the parts their space across the mix.
We realised quite early on that we had everything a little bit too central when comparing to other commercial tracks so we used panning to position backing vocals and guitar parts across the left/right stereo space which not only made a much bigger sound, but gave extra clarity to the parts.
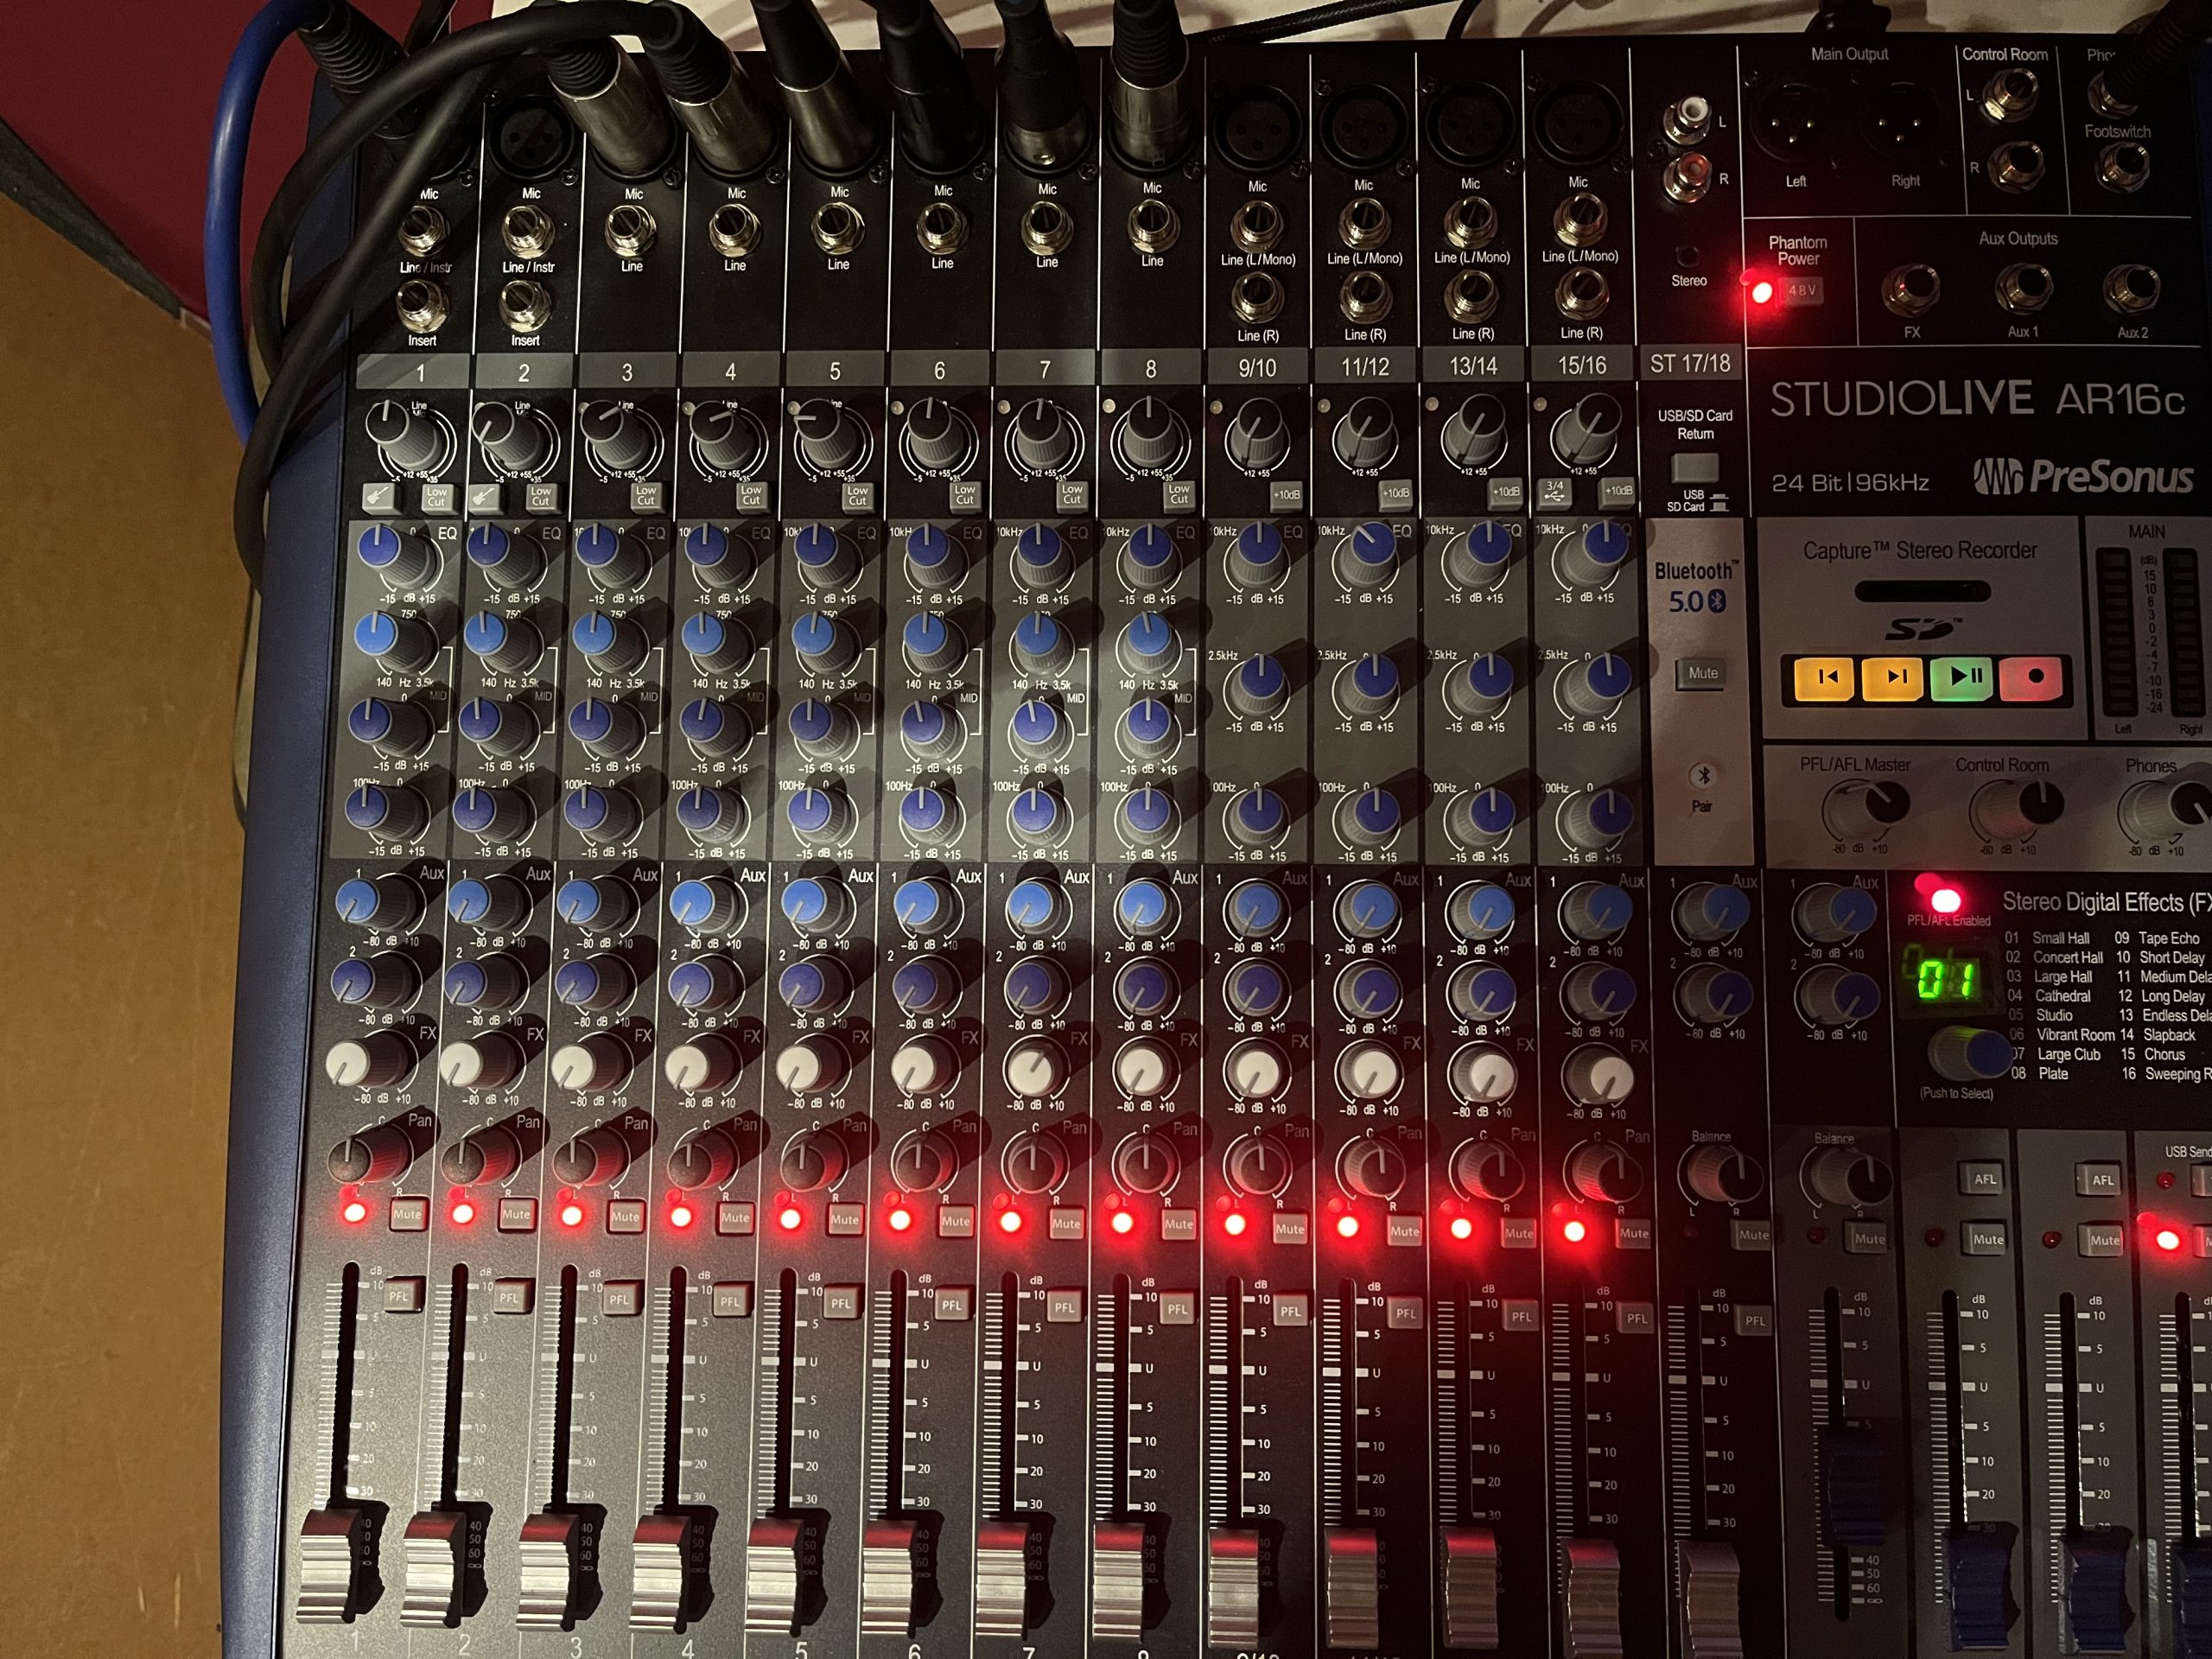
The most obvious part in mixing though is the levels. Logic allows us to have pretty much as many tracks as we want which can become quite cumbersome so we either grouped tracks or used sent multiple tracks to busses to create sub-mixes, which allows us to control parts of the arrangement with a single fader. For example, all the drum tracks would go to a single bus so we could mix the different mic levels as needed but control the overall level from a single track. We also did this with vocals, guitar parts and percussion.
Mastering
As one of the band asked, when we sent round the final mixes, “why are our tracks quieter than the commercial ones?”. This is because, after mixing, we need to master the full tracks. This is a process where you take the stereo mix and run it through another round of processing with compression and limiting ti bring them up to the loudness you want. In a way it sounds like a simple process but we found ourselves tweaking this a lot to get a balance between keeping the live dynamics and bringing up the volume.
It was suggested at one point to use an AI mastering tool, and that probably works for many artists, but we wanted to be a bit more hands-on and also know what we needed to change if we weren’t happy with the results,
After following a few tutorials(!) we tried an initial approach but found we were indeed compressing and limiting the sounds too much which, while making the tracks louder , was taking too much out of the dynamics. No Winners in particular proved a bit of a challenge as it starts either just guitar and vocal then builds to the whole band rocking out at the end!
After some trial and error (for those more technically minded) our final approach was as follows.
First, we used linear EQ to shelve off subsonic frequencies, as we found these were driving the compressors hard at times and, as they can’t be heard by the human ear, they can go! We also used further tiny tweaks on the EQ where we could to iron out unwanted peaks. We actually went back to the mixes and re-bounced them down a few times as we found a few from the live recordings. (General tip: Get as good a recording at source as you can to save on editing!)
Next we used a Multipressor to apply compression across the track. This is a great tool which allows to apply different levels of compression across the track’s bandwidth – low bass, mid/low, mid/high and high frequencies. This allowed us much greater control over the track’s and also provides a kind of EQ so we could add more weight to the lower end or push mid/high where the vocals sit. Each band can also be compressed separately to control its dynamics. These were very minor tweaks as we didn’t want to colour the track but gave us more controlled audio to work with.
Next, during our earlier trials, we had used a Vintage EQ and we really liked the extra warmth this provided, especially to the lower end of the mix, so we added that subtly in too.
Following this came the overall loudness for the tracks, for which we used two Adaptive Limiters. This is a great tool but also needs to be used sparingly! We used two so the first one could pull up the main level to get into a lower range , remove any DC that might have crept in and just trim the high peaks. The second limiter was then used to really bring up the volume and add true peak detection. This second one provides a brick wall so no sound will go louder than its setting (we used -0.3db). Overuse of this though is what can easily kill the dynamics so we tried quite a few settings on each track before we were happy with it.
Conclusions
We do not profess to being experts and this is just how we went about recording these few tracks. Our approach may change moving forward and there are definitely benefits to using a proper recording studio with experienced engineers. Truth is, we didn’t have a budget and we also fancied “having a go”! Hope you enjoy it as much as we did creating this. We are already working on the next tracks and hope to have that all ready for you to hear soon.
Thanks for listening.